Kelly Gardner shared the idea of a Cultural Comparison round table in a Facebook group for AP Spanish teachers. With her permission, I adapted the idea for my classes and am sharing it here.
We are at the end of a unit about the role of grandparents and the impact of technology/social media on our lives. These topics combine for a wide range of comparisons, and create a great set up for the round table format.
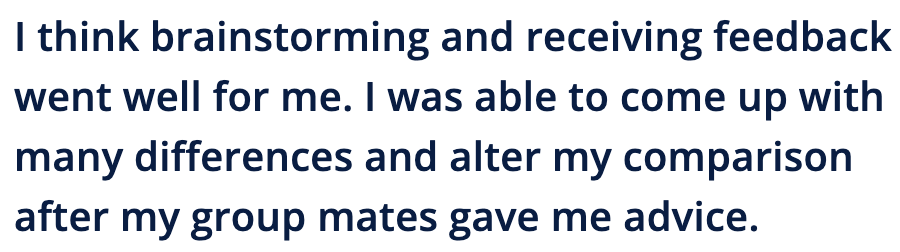
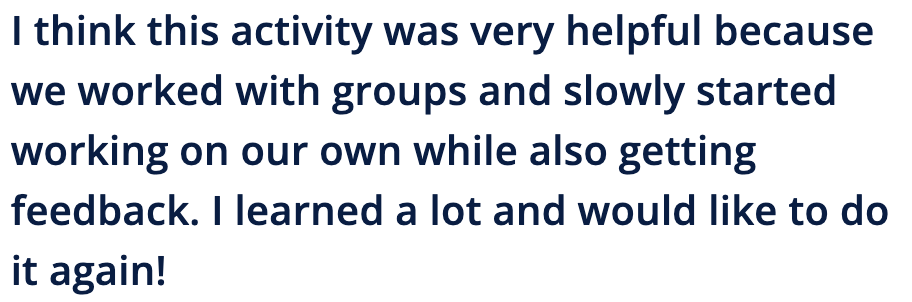
Students had many positive things to say about the activity, especially about how it is a confidence booster. Here are some of their post-activity comments:

Here is the process that I used:
- Divide your class into groups of about 3-4 students.
- Create a set of cards, each with a different question in the style of the AP Cultural Comparison questions.
- Need inspiration for questions? Check out this list.
- Easy way to make cards: put each question on a slide in your favorite slide software. Print the slides 4/page and poof! Cut apart and your cards are ready to go.
- Print one set of cards per group
- Print handouts for each student.
- Page 1 & 2 are the same, but with slightly different formats. Pick your favorite. Students do NOT need both.
- Put page 3 on the back of page 1 or 2
- Pages 4 & 5 go together and I usually hold them back until we are ready for them later in the process.
- Walk students through the brainstorming & collaborative process (as shown on these slides)
- In small groups of 3-4 students, each student draws a card with a question
- One student reads their card to the group. The group writes the question down in “tema #1 box” on p. 1 of the student handout
- The group brainstorms possible comparison points for the topic–similarities & differences–and notes them in the space provided for the question.
- Repeat these steps until each student’s question has been discussed & brainstormed. Emphasize the collaborative nature of this phase (rather than divide & conquer)
- Next up: creating draft #1 of the comparison speech
- Now each student selects one of the questions that had been discussed in the steps above. It doesn’t matter if more than one student chooses a particular question, as this phase will be completed individually.
- Using handout pages 4-5, students transform their bullet points into their actual presentation using the guide to help them with structure, language, and pacing.
- The amount of time allotted will vary based on students’ experience level. They had 8 minutes to do this step this time through. We will keep trimming that time down to the 4 minute mark by May.
- Time to present! Continuing to work in small groups, students will take turns presenting their presentations with the notes they prepared in the previous step.
- While one student is presenting, the others will use the table on p. 3 of the student handout to prepare feedback for their group mate.
- After the presentation, allow a minute or two for feedback from the group to the presenter.
- Repeat this process until all have presented to their groups.
- Implement feedback + prep & record final draft
- All students use the feedback they received from their groups to make edits as indicated
- All students record their presentations. My favorite tool: Formative!
All in all: this activity structure is a keeper! It’s flexible enough to apply to any unit and took about 1 1/2 90 minute periods. The student engagement level is HIGH and allows me to facilitate, coach, and answer questions to meet student needs in the moment. The vibe in the room was positive and easy to tell that students were feeling less stressed about this component than before.
If you try this out in your classes, please let me know how it goes! PS–gracias Kelly!
